Understanding Island Light Fixtures
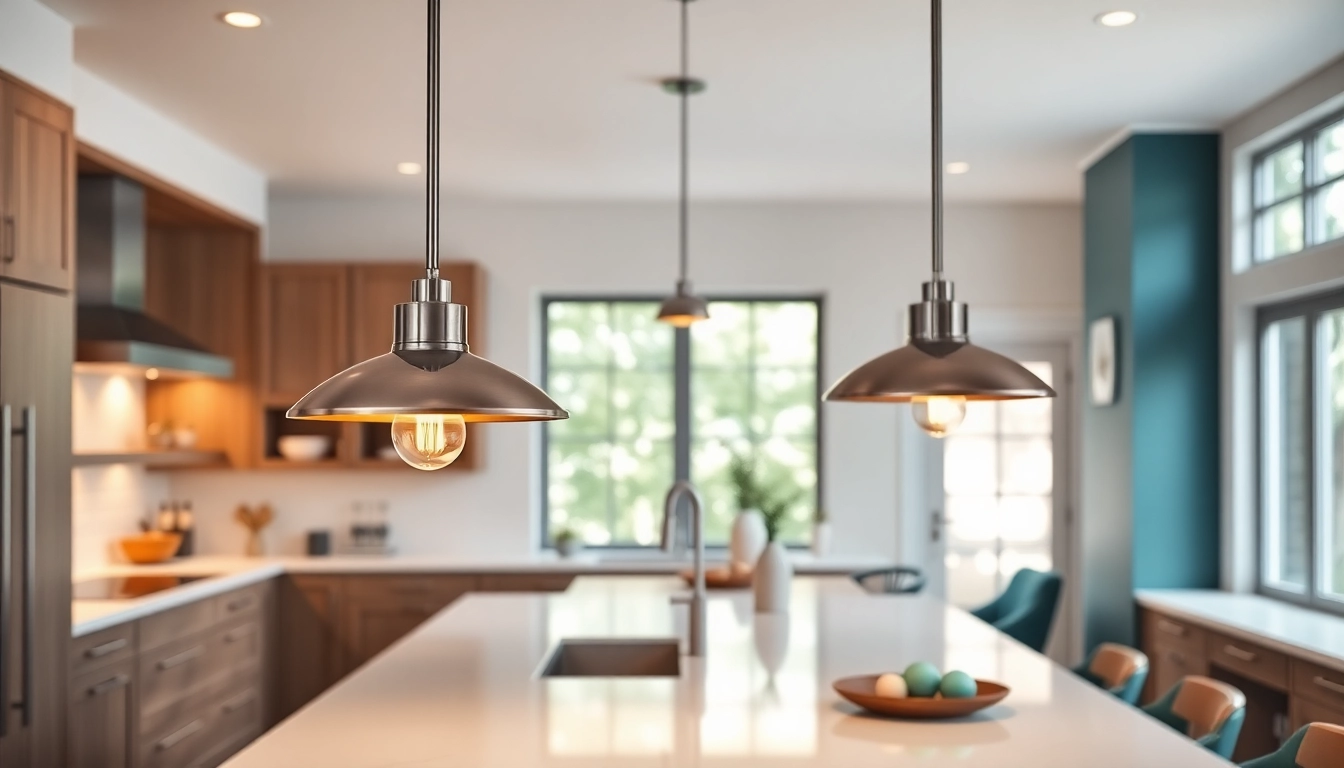
Island light fixtures serve as both functional elements and stunning focal points within a kitchen or dining area. Positioned above kitchen islands, these fixtures not only provide essential lighting for tasks but also set the tone for the space’s overall aesthetic. When selecting island light fixtures, understanding their types, benefits, and material choices is paramount for achieving an ideal lighting balance.
Types of Island Light Fixtures
Island light fixtures come in various styles and forms, each designed to fulfill specific needs while complementing your décor. The most popular types include:
- Pendant Lights: These fixtures hang elegantly from the ceiling and can be used individually or in clusters. They provide direct light and are perfect for showcasing decorative elements.
- Chandeliers: Offering a grand statement, chandeliers are ideal for larger spaces. They combine beauty and functionality by distributing light throughout the area.
- Flush Mounts: These fixtures sit close to the ceiling and are excellent for spaces with lower ceilings while still offering sufficient illumination.
- Track Lighting: A flexible option that allows you to direct light where it’s needed most, track lighting can enhance the functionality of your space by highlighting specific areas.
Benefits of Using Island Light Fixtures
Incorporating island light fixtures into your kitchen design brings forth numerous benefits:
- Task Lighting: These fixtures illuminate work surfaces, ensuring safe and efficient meal preparation.
- Aesthetic Appeal: They provide an opportunity to showcase your personal style and enhance the overall décor.
- Space Definition: An island light fixture can visually define the kitchen island, making it a focal point in an open-plan space.
- Versatility: Available in a wide range of styles, sizes, and finishes, they can complement traditional or modern interiors equally well.
Material Choices for Island Light Fixtures
The material of your island light fixture affects not only the look but also the durability and ease of maintenance. Popular materials include:
- Metal: Fixtures made from metals like brass, chrome, or black steel provide a contemporary edge and are highly durable.
- Glass: Glass fixtures offer a classic elegance and can be clear, frosted, or colored to create different lighting effects.
- Wood: Wooden fixtures exude warmth and are often used in rustic or farmhouse-style spaces.
- Plastic: An affordable option, plastic fixtures can mimic other materials and come in various designs.
Designing with Island Light Fixtures
Designing with island light fixtures goes beyond mere placement; it involves careful coordination with the kitchen’s overall look and feel. Below are key aspects to consider:
Style Coordination with Island Light Fixtures
To ensure cohesion in your design, align the style of your island light fixtures with the existing decor. Here are a few styles to consider:
- Industrial: Fixtures with exposed bulbs and metal finishes complement urban or loft-style kitchens.
- Modern: Clean lines and minimalist designs cater to contemporary tastes, featuring sleek finishes and innovative designs.
- Farmhouse: Opt for rustic wood and metal combinations to enhance the warmth and charm of your kitchen.
Color Schemes for Complementing Island Light Fixtures
The color of your island light fixtures should harmoniously blend with your kitchen palette. Popular color choices include:
- Neutrals: Whites, grays, and blacks provide a timeless look that works with any color scheme.
- Bold Colors: Statement colors can add personality and create a striking contrast against neutral tones.
- Metallic Finishes: Gold, bronze, and silver can add a touch of luxury and are increasingly popular in modern designs.
Height and Placement Considerations
Proper height and placement of island light fixtures are crucial for functionality and aesthetics:
- The standard height for pendant lighting is typically 30-36 inches above the countertop, though this can vary based on personal preference and ceiling height.
- For chandeliers, place them high enough to avoid obstructing views but low enough to create an intimate feel.
- Consider the size of your island; larger islands may require multiple fixtures to evenly distribute light.
Installation Tips for Island Light Fixtures
Installing island light fixtures requires careful planning and execution. Here’s how to get it right:
Tools Needed for Installation
Before starting the installation, gather necessary tools:
- Screwdriver
- Wire stripper
- Drill
- Measuring tape
- Wire nuts
Step-by-Step Installation Guide
Follow these steps for a successful installation:
- Turn off the power at the circuit breaker to ensure safety.
- Measure and mark the desired height for your fixture.
- Install the mounting bracket provided with the fixture onto the ceiling.
- Carefully connect the fixture’s wiring to your home’s electrical wiring, using wire nuts.
- Secure the fixture and ensure it is straight before tightening all screws.
- Restore power and test your new fixture.
Safety Considerations During Installation
Safety first! Remember to:
- Always turn off power before beginning any electrical work.
- Use a sturdy ladder to reach high ceilings.
- Ensure all electrical connections are secure to prevent hazards.
Maintenance of Island Light Fixtures
Regular maintenance will prolong the life and look of your island light fixtures. Here’s how to keep them in top shape:
Cleaning and Care Tips
Cleaning your fixtures doesn’t have to be a chore. Follow these guidelines:
- Dust regularly with a soft, dry cloth to prevent buildup.
- For glass fixtures, use warm, soapy water and a soft cloth. Avoid abrasive materials that could scratch the surface.
- Check for loose hardware and ensure that the fixture is securely attached regularly.
Common Issues and Troubleshooting
Common issues with island light fixtures can often be resolved quickly:
- Flickering Lights: This could be due to a loose connection; check wiring and secure any loose ends.
- Bulb Burnout: Ensure you are using the correct wattage; LED bulbs have a longer life span than traditional bulbs.
- Fixture Not Turning On: Check if the power supply is on or if there’s a blown fuse.
When to Replace Island Light Fixtures
Know when it’s time for a replacement:
- When fixtures begin to show significant wear or damage.
- When you are undertaking a kitchen remodel that changes the design aesthetic.
- If the lighting becomes insufficient, consider upgrading to a more powerful option.
FAQs About Island Light Fixtures
What are the best styles for island light fixtures?
Popular styles include industrial, modern, and rustic, each offering unique aesthetics to complement your kitchen.
How high should island light fixtures be hung?
Typically, island light fixtures should be hung 30-36 inches above the countertop for optimal functionality and aesthetics.
Can I install island light fixtures myself?
Yes, with the right tools and safety precautions, you can install island light fixtures. Follow instructions carefully.
What type of bulb is best for island light fixtures?
LED bulbs are energy-efficient and long-lasting, making them a great choice for illuminating your island light fixtures.
How do I clean my island light fixtures?
Use a soft cloth with warm soapy water for delicate fixtures, and avoid harsh chemicals to maintain the finish.