
Introduction to Fly Tying
Fly tying is an art form that merges the creative with the technical, resulting in a unique approach to angling. Whether you’re a novice eager to learn or an experienced angler seeking to refine your techniques, understanding the fundamentals of fly tying is essential for engaging with the world of fly fishing. This comprehensive guide delves into the intricacies of fly tying, offering a roadmap from basic principles to advanced techniques.
What is Fly Tying?
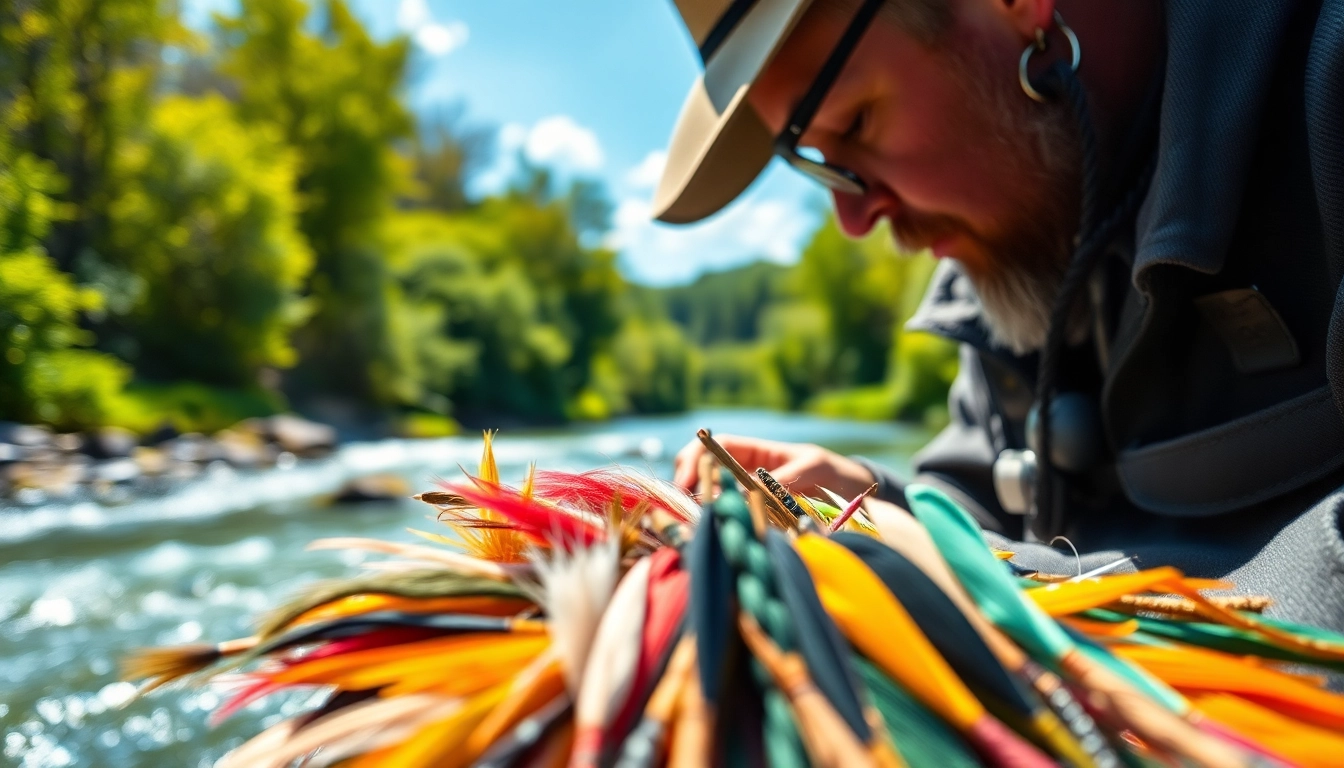
At its core, fly tying is the process of creating artificial flies used for fishing. These flies imitate natural bait like insects and other aquatic organisms, attracting fish in various freshwater and saltwater environments. The flies are created by securing a combination of materials—such as feathers, fur, and synthetic fibers—to a hook using thread and other adhesives. The key to effective fly tying lies in the ability to replicate the movement and appearance of natural prey in the water.
The Importance of Fly Tying
Fly tying holds significant importance for several reasons. Firstly, it allows anglers to customize their flies according to the specific conditions of their fishing environment. Whether for freshwater trout or saltwater tarpon, each species has preferred food sources, and thus, fly tying grants anglers the flexibility to create effective lures. Moreover, tying your own flies can be a cost-effective solution, especially for avid anglers who routinely purchase flies from retailers. Additionally, fly tying fosters a deeper connection with the sport, as it encourages a greater understanding of the ecosystem and fish behavior.
Basic Tools for Fly Tying
To start your fly tying journey, having the right tools is essential. Here are some basic tools you will need:
- Vise: Holds the hook securely while you work.
- Scissors: For trimming materials precisely.
- Thread: Used to secure materials to the hook.
- Bobbins: To hold and dispense thread.
- Hackle Pliers: Useful for holding feathers and other delicate materials.
- Dubbing Needle: A small, precise tool for applying dubbing and finishing flies.
- Head Cement: For securing the thread wraps once the fly is complete.
Essential Techniques for Beginners
For beginners, mastering basic techniques is crucial. This section outlines the foundational skills required to get started with fly tying effectively.
Getting Started: Materials Needed
Before diving into actual tying, gather your materials. Common fly materials include various hooks (in different sizes and styles), threads (often in different colors), beads, feathers, foams, and dubbing. Understanding how these materials interact and which combinations work best is an integral part of fly tying. Start with simpler patterns, such as Woolly Buggers or Adams flies, before progressing to more complex designs.
Basic Knot Tying Techniques
Knowing how to tie effective knots is a prerequisite for successful fly tying. The following knots are essential:
- Blood Knot: Useful for joining two lines together.
- Improved Clinch Knot: A reliable knot for attaching flies to tippets.
- Loop Knot: Provides free movement for flies, enhancing their lifelike appearance in water.
Practice these knots to ensure a secure connection between your fly and your fishing line, as well as between different sections of your tackle.
Step-by-Step Guide to Your First Fly
Here’s a simple guide to tying a basic fly, the Woolly Bugger:
- Secure the hook in the vise.
- Start wrapping the thread from the eye of the hook towards the bend to create a base.
- Add a bead to the front of the hook for weight.
- Attach the tail materials (e.g., marabou or chenille) to the back of the hook.
- Wrap the body of the fly with your choice of material, like dubbing or chenille.
- Add hackle feathers in a palmer technique, wrapping them around the body.
- Finish with a few securing thread wraps near the eye and apply head cement.
Intermediate Fly Tying Skills
Once you’ve grasped the basic techniques, it’s time to elevate your skills. Mastering intermediate techniques will refine your abilities and broaden your fly crafting repertoire.
Advanced Techniques to Master
Advanced fly tying techniques can help you create more sophisticated patterns. Techniques such as the “webbing” method or the incorporation of UV materials can add to the complexity and attraction of your flies. Using multiple materials in one fly, known as multi-material tying, can drastically improve your chance of catching fish.
Common Mistakes to Avoid
As you progress, being aware of potential pitfalls can enhance your tying experience. Here are some common mistakes:
- Rushing the Process: Take your time; hasty tying can lead to inferior flies.
- Wrong Material Selection: Ensure that the materials replicate the intended pattern accurately.
- Inconsistent Tension: Maintaining uniform tension in your thread wraps is crucial for the fly’s durability.
Understanding Fly Patterns
Knowing various fly patterns and their uses is essential for effective fishing. Classic patterns, such as the Mayfly nymph for trout or Clouser Minnow for bass, are staples in any angler’s arsenal.
The science of selecting the right pattern is essential. Factors like water temperature, time of day, and fish feeding patterns all play a role in determining which flies will be successful. Researching local hatch charts and understanding seasonality can give you a competitive edge in your fishing endeavors.
Tips for Successful Fly Tying
When it comes to fly tying, small tips and tricks can make a big difference in the final product. Here are some essential insights for successful tying.
Choosing the Right Materials
Selecting high-quality materials is non-negotiable for effective fly tying. Always opt for natural materials when possible, as they tend to imitate live prey more convincingly due to their inherent movement and texture. Additionally, shop from reputable suppliers to ensure consistency in quality.
Adapting Patterns to Local Conditions
Fishing conditions can vary tremendously from one location to another. To increase your success rate, learn to adapt your flies based on local conditions. For example, if you’re fishing in murky waters, consider using brighter colors or larger patterns that are easier for fish to spot. Always keep an eye on the local insect activity to determine which fly patterns will be most effective.
Storing and Organizing Your Flies
Once you’ve created a selection of flies, proper storage is crucial to maintain their integrity. Use waterproof fly boxes with dividers to keep your flies organized and protected. Label your boxes according to categories—such as dry flies, nymphs, and streamers—to facilitate quick access during fishing trips.
FAQs about Fly Tying
1. What materials do I need to start fly tying?
You will need hooks, threads, feathers, tools like vises and scissors, and a workspace.
2. How long does it take to learn fly tying?
With practice, beginners can create a simple fly in an hour, while mastering techniques can take months.
3. Can I tie flies for any type of fishing?
Yes, flies can be tailored for freshwater, saltwater, and various fish species using specific techniques.
4. What are the common mistakes made by beginners?
Beginners often rush, overlook material selection, or misjudge hook sizes when tying flies.
5. How should I store my tied flies?
Store your flies in a waterproof box with dividers to keep them organized and dry.